Tag: Install

Full Color Boat Name Design, Printing and Install in the Tampabay Clearwater area

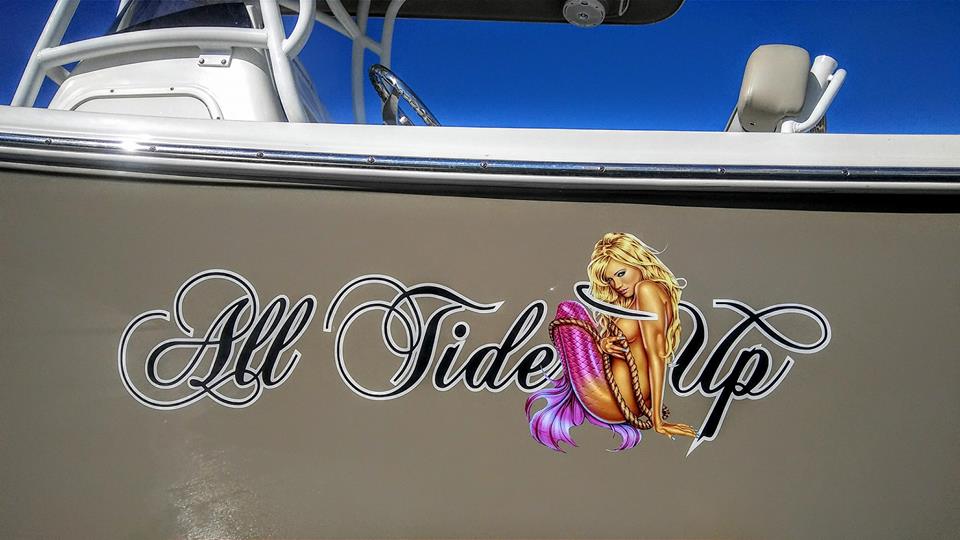
Some boat name lettering and graphics are requested to be in a full color. In other words you can see the fade of each color compared to just solid spot colors. It can be considered that three to four colors on a boat name logo could be declared as a full color if that’s all the color that is needed in your logo.

A four colored boat name like Sandy’s beach above was plotted out in separate colors. Then each color is installed on the boat separately until the boat name logo is achieved.

The technology for printing boat names has come a long way and today we are able to make full Color Prints last for years. The process is still done on vinyl. Large format printing machines can print on a white 3M vinyl. After printing the graphics, another large laminating machine laminates on top of it to help protect from scratches and UV rays.
Here are some of the pros and cons of having a full-color graphic rather than having solid base vinyl colors.

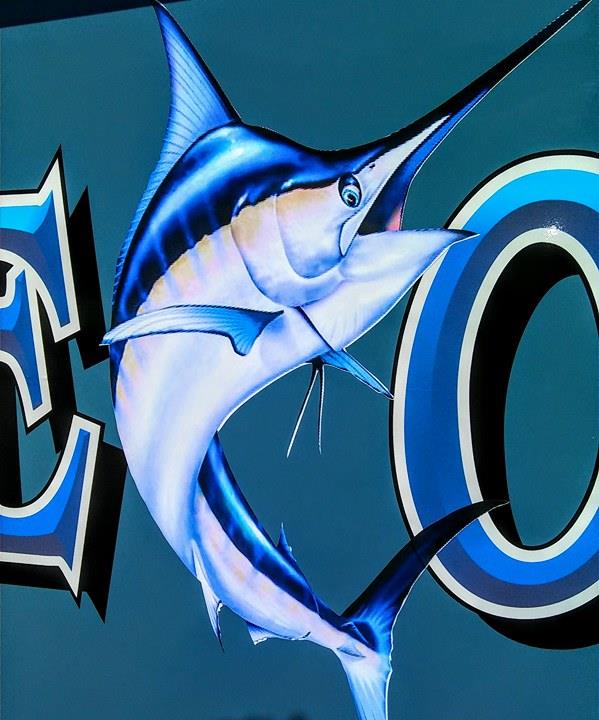
  • Still to this day solid non printed viynl colors will not fade as fast as a printed viynl.
  • Full color printed graphics are a little more costly to design and create out of 3m material.
  • The full color boat name is clearly more vivid and pleasing to the eye.
  • It is important to have someone design it corectly to compliment your boat and to stay away from high contrstd that could make the boat logo muddy and not visiable from a distance.
  • If part of a full color graphic some how gets damaged it is a bit more costly to repair.

Two color lettering in Black and white with a Full color Mermaid Graphic.


Reel Dreamin Boat nameThe best boat name graphic material to use is called 3M 180c Controltac viynl with a clear outdoor laminate. The boat Name Guy only uses the best quaility when doing boat names.


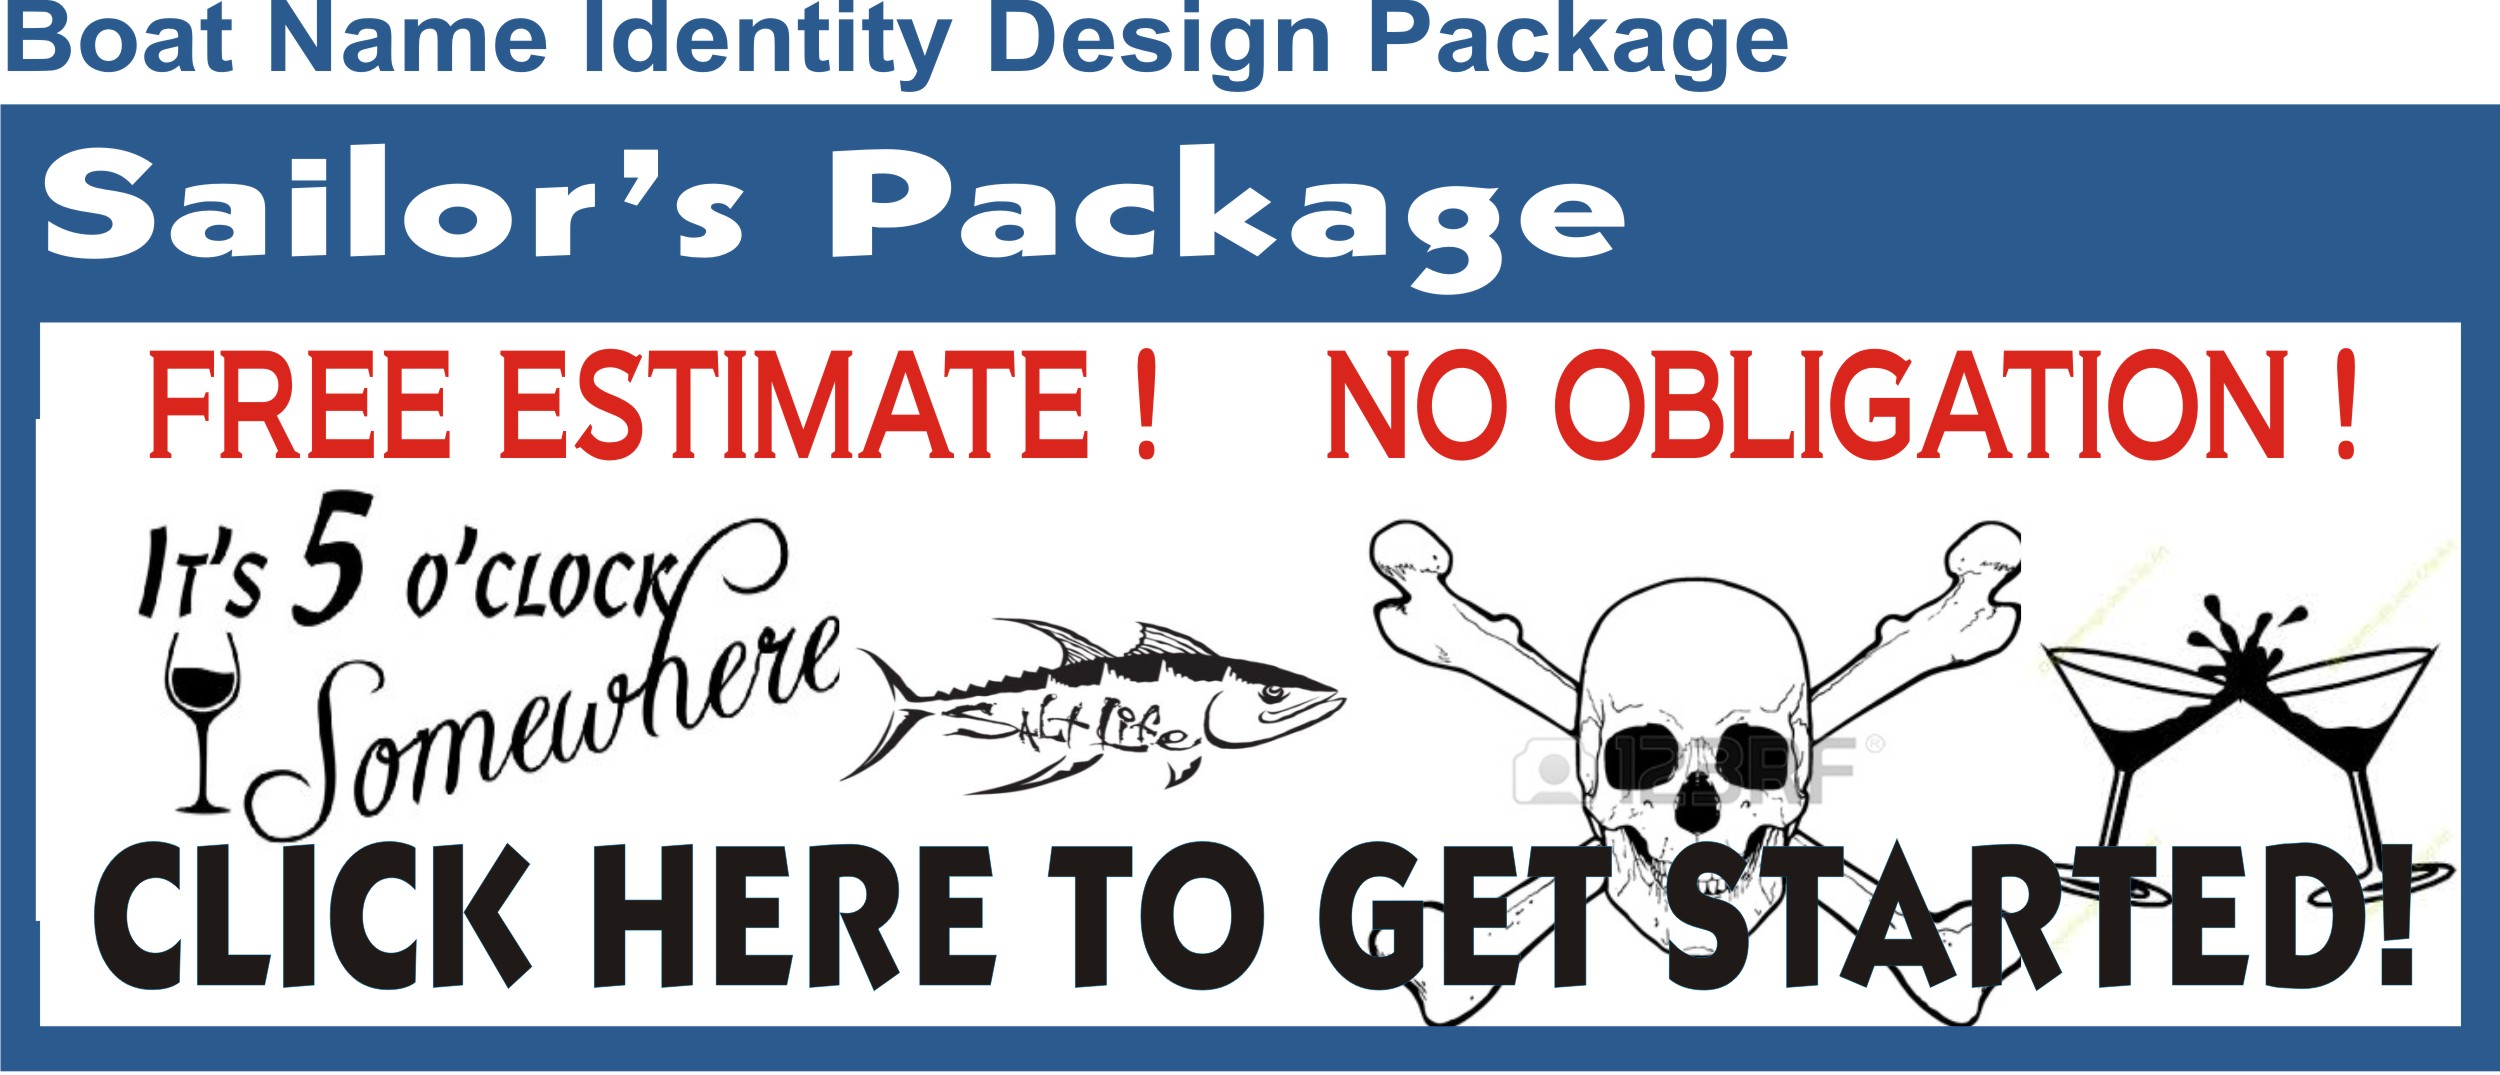
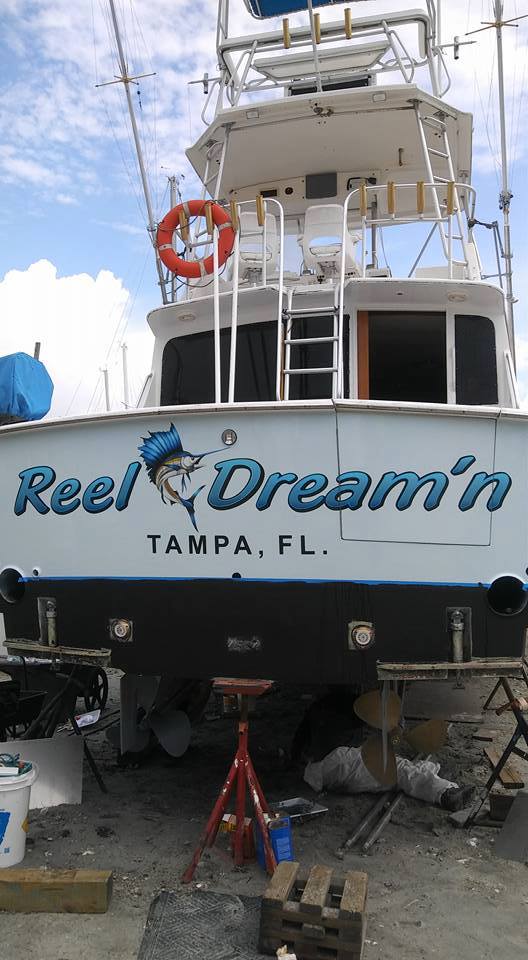
Sometimes we find ourselves to get too detailed with our boat names and it tends to get lost in the colors of our boats. Staying with just one color often does the trick and is much more visible from a distance.

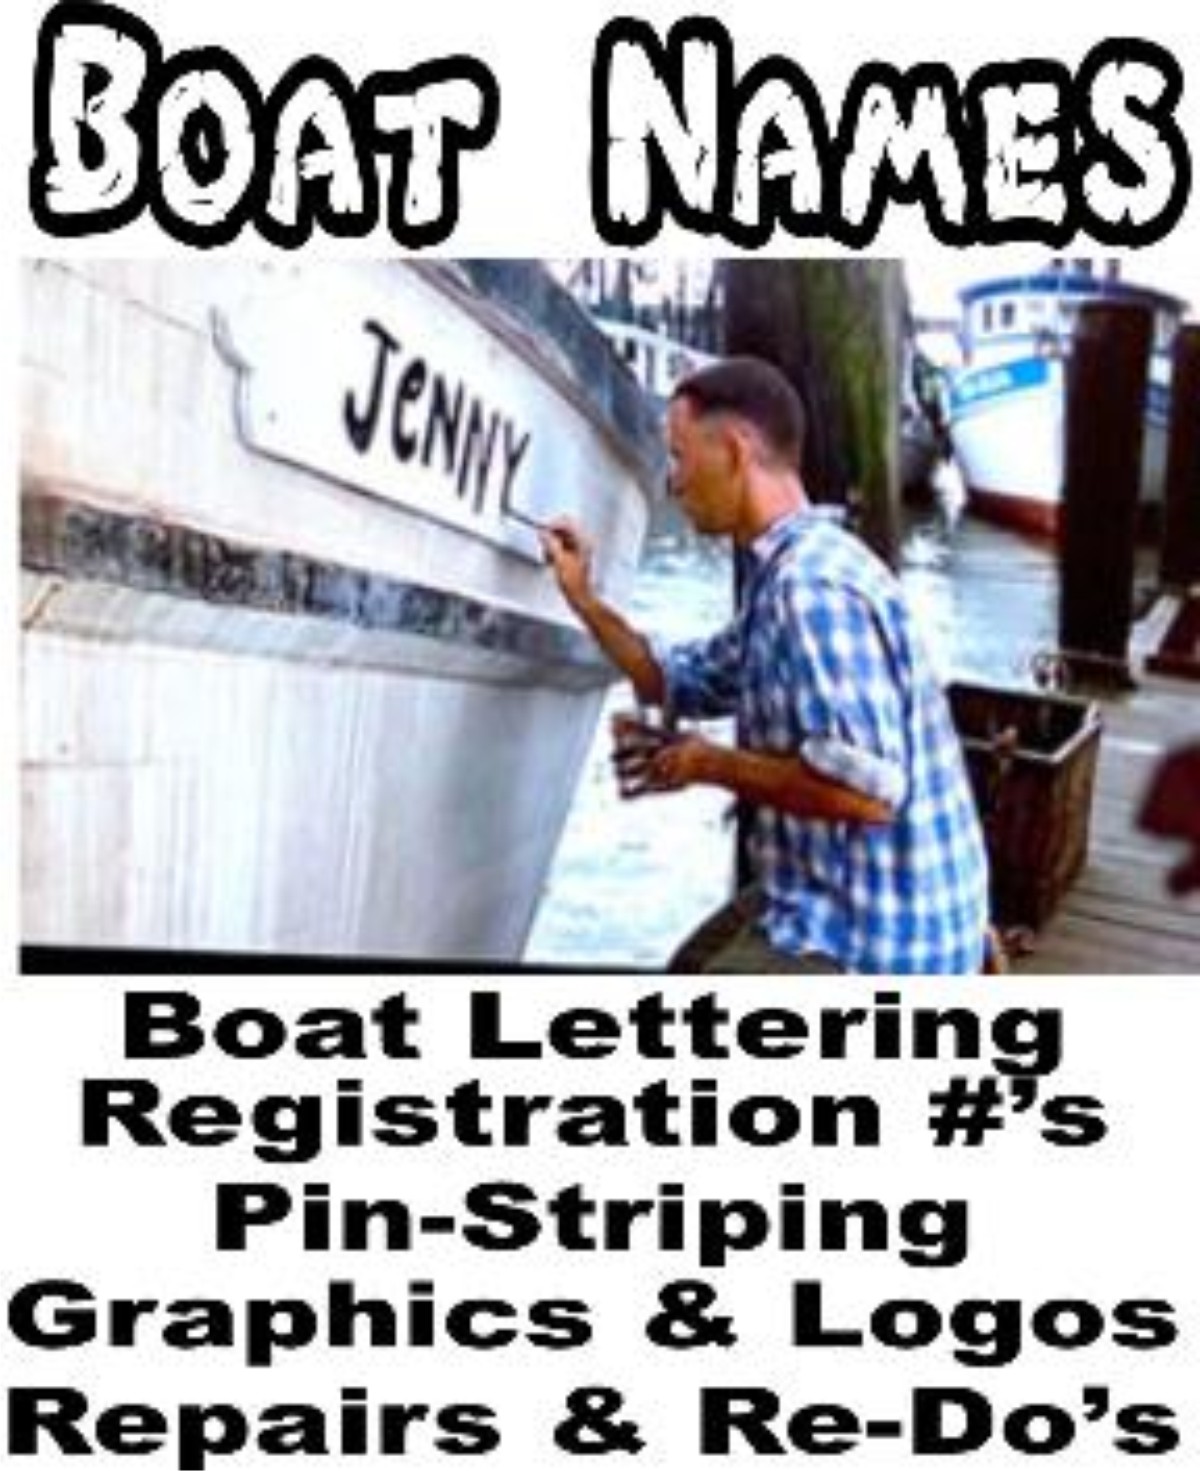
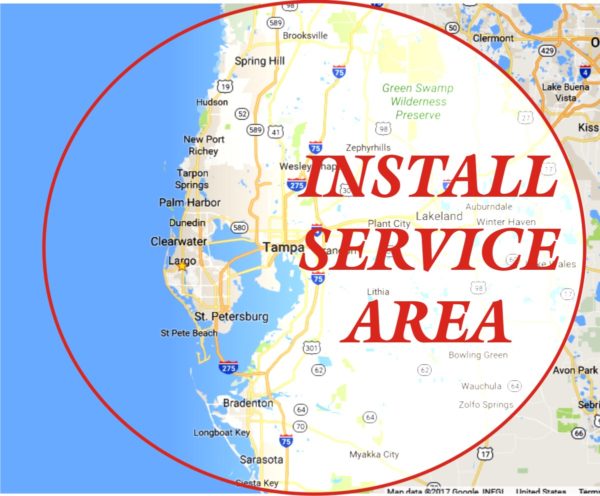
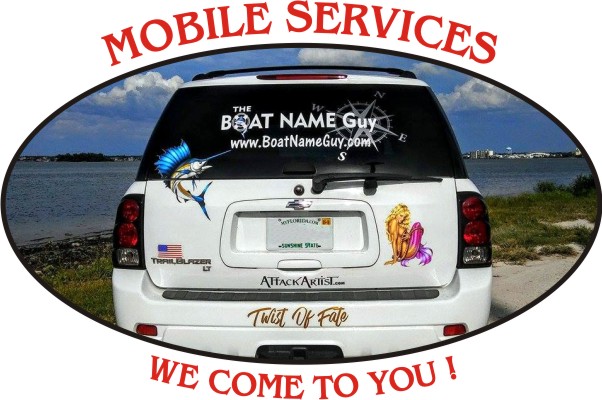
The Boat name guy can help you with every aspect of the boat name process. From Boat name Ideas and design to printing and installing in the Tampa Bay, Clearwater area. Check out the Boat Name Form and see how the boat name guy can make getting a boat name a fun and easy process.

Joan Harrell

Soul-Mates

Boat Name Installation instructions

Doing Your Boat Name Yourself Can Be Easy

Weather you buy your boat name through a online sign shop or your local sign guy. It should be close to the same material.

You want to make sure who ever prints your graphics they are using the correct material that will sustain under harsh outside elements.

There is a difference!

A 3 year calendared, Averey vinyl will not last as long as an 8 year, 3M premium vinyl. They will both look the same when you first apply it, but after a few years you will see your graphics shrink up to a half inch or more. If when you are installing and you need to pop any persistent holes… Those pin point holes will open up. That is why it is important NOT to pop any bubbles for the first week.

Make sure you have all the tools you will need before you start the install.

You will need the following:
Acetone or Ammonia, Rapid Tac Installation Spray Liquid, and a Squeegee.
Application should not be attempted if temperature is below 55° Fahrenheit. Or hotter than 80 ° Fahrenheit.  Also a windy day is not recommended.
The area must be cleaned using Acetone to remove all wax and dirt.

Your Boat Name Installation Instructions:

1. Once area has been cleaned use the Rapid Tac Spray (shake well before use) and generously spray the area where the lettering is to be applied.  Do not wipe off this solution.

2. Place the lettering face down on a clean, flat surface.  Peel away the protective wax paper backing.  The lettering will remain adhered to the application tape with the sticky side of the lettering now exposed.  Be very careful not to allow the lettering to flip over onto itself as this will cause your sign to be damaged. Generously spray the sticky side of the lettering with the Rapid Tac spray this will stop the lettering from sticking.

3. While the area is still wet, place the lettering in the desired location. The Rapid Tac spray will allow you to move the lettering around until you get it into place.

4. Starting from the center, using the squeegee provided, gently rub the lettering from the center out and in all directions. Continue to squeegee until all liquid and air is removed from underneath lettering.

5. Wait 1 minute and spray the Rapid Tac over the application tape and squeegee again. Allow lettering to dry completely (approx. 30 minutes).

6. Slowly peel off the translucent application tape starting from the upper corner and pull down at a angle. The vinyl lettering will stay adhered to the surface. Note: If the lettering is not sticking to surface, repeat the squeegee process and let dry longer.

If you don’t think that these boat name installation instructions are easy it is OK! I can help you with any part of these instructions. Please contact me if you have any questions or if you would like me to come out and install for you.

HINTS:

*Easy-Off oven cleaner removes old painted letters, followed by white vinegar to remove any yellowing.
*Heat gun and a rubber scraper removes old vinyl letters.
*Any leftover air bubbles may be remedied by exposure to the sun, and if not they can be popped with a pin

The Ziggy Boat Name Process

The Ziggy Boat Name Process

One day I was asked if I was able to make the Ziggy boat name logo and put it on a sailboat as a boat name. I immediately started searching for the Ziggy logo. Brought back memories of my childhood when I looked in the newspaper everyday for the latest comic strip.  I found the logo and imported in to my illustration program. From there I was able to make vectored lines that I would need to cut each color of the Ziggy logo. Then I placed te logo over the photograph that my customer supplied me. After a little bit of photo-shopping and moving the letters in a perspective view, I was able to make it look like the boat name was already completed.

I sent the proof and the estimate of how much it would cost to continue designing with proofs and cut the graphics, travel and install. The customer replied back with the go ahead and a 50% deposit. 

Later that day I went to the boat to take measurements and to see exactly what I was contending with. I saw that there was a better place for me to place the logo. I explained that I would cut the blue stripping and put the boat name in between the stripping. I also explained that I would use the same color stripping that was on the boat to really tie it together. Without further explaining the boat owner told me he trusted my judgment and to do what i do best.

I went back to the shop and ordered the same blue that was on the boat. I had the yellow and started prepping the file so that when the vinyl comes in the next day I would be able to get right to work. The next day the blue came in and I went to print. I also went ahead and printed his port name as a freebee.

The next day I was back and completed the job within just three days. The customer was ecstatic when he came back from work. The Ziggy boat name was placed on both sides of his boat.

The Boat Name Guy LLC Design Delivered Installed Tampa Clearwater © 2024 Frontier Theme